
Monitor Color Calibration On a Budget
If you haven’t read my previous article about picking a monitor for color grading video, please check it out here. This article is a continuation of that article and it specifically focuses on how to calibrate a monitor for video editing.
A professional color grading setup can easily cost $5k in hardware. You need a monitor with a high color accuracy that can also load correction lookup tables (LUTs)or you need a LUT box + a highly accurate monitor. Why do you need correction LUTs? Any monitor you buy is not going to be calibrated correctly for your environment or use. Even if the brand's marketing states it is factory calibrated, it still needs calibration once unboxed and repeatedly as you use it every few weeks. Here are a few additional reasons why calibration is so critical:
The ambient lighting in your workspace can affect how your eyes perceive color. Your ambient lights could cast an off-white hue on your screen that you don’t notice, but ultimately affects your color grade. Calibration tools can take light readings from your room’s ambient lighting.
Your monitor may display a wider gamut of colors than your final delivery format requires which will display your colors incorrectly. On my monitor, this can cause my edits to take on a red shift making everything look warmer than it actually is.
Brightness almost always is set too high when using default settings.
Calibration gives you confidence that what looks good on your monitor will most likely look good on others. I say most likely because you never know if someone has their TV set to max saturation and max contrast.
Hardware vs. Software Calibration
Professional color grading monitors either include the ability to load correction LUTS into the monitor via a SD card or USB stick or they use a second piece of hardware called a LUT box. These setups also use dedicated SDI outs on a computer that bypasses your computer's operating system (OS). Why is this so important? Because software-based calibration is not reliable. Your graphics card could be manipulating colors, your operating system could be applying calibrations in some programs, but not all. For instance, web browsers are usually not color-managed so even if you have a calibrated monitor, Chrome won’t display adjusted colors. Premiere Pro is also not color-managed so it ignores any calibrations you have applied to Windows or Mac OS.

Hardware-based calibration
With hardware-based calibration, your editing software like Premiere Pro can be set to output the program monitor directly to your LUT Box. This guarantees that what you see is what you get. Here is an example of all the equipment you would need for a hardware-based approach using a top of the line monitor:
Blackmagic DeckLink Here
AJA LUT-box Here
Sony PVM-X1800 4K HDR Monitor — Here
X-Rite i1Studio — Here (spectrophotometer — cheaper options reviewed below)
Visual Captive is a participant in the Amazon Services LLC Associates Program, an affiliate advertising program designed to provide a means for sites to earn advertising fees by advertising and linking to Amazon.com
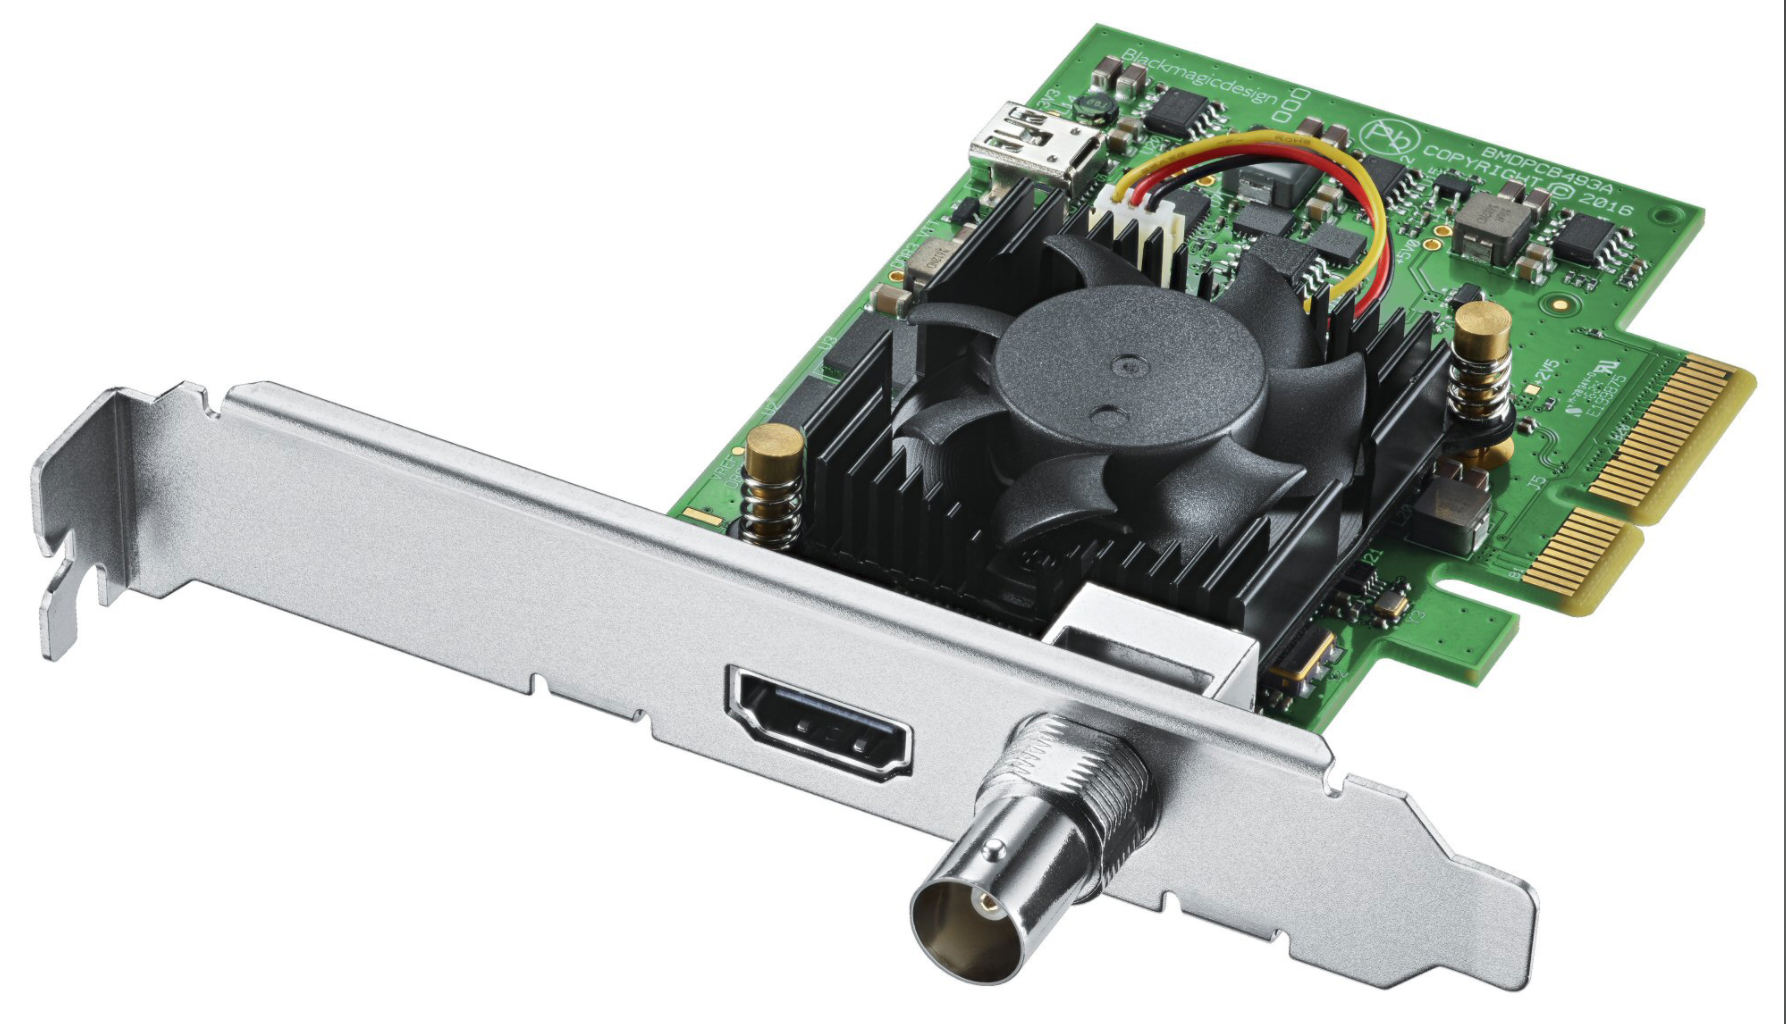
Blackmagic DeckLink
Tools Required for the Low-Budget Approach (Software Based)
This budget-friendly approach is focused on how to calibrate your monitor to be as accurate as possible without investing that much cash. It’s based on using consumer-based monitors I recommended here, that are able to display wide gamut color ranges. These consumer-level monitors are still really accurate and can work for many editors. I do not recommend this approach for broadcast or movie color grading, but it’s a great workaround for content delivered online.
This approach still requires you to own a monitor calibration device. These tools are used to measure the colors and brightness of your monitor so that a calibration profile can be generated. You will also need to download DisplayCAL. It’s free software that can use your calibration tools for even better results than the software that comes with your device. I will explain how to use it later in this article.
X-Rite i1Display Studio — Here(Great for starting out and on a budget)
X-Rite i1Studi — Here (Much more accurate. Uses a spectrophotometer vs colorimeter)
Visual Captive is a participant in the Amazon Services LLC Associates Program, an affiliate advertising program designed to provide a means for sites to earn advertising fees by advertising and linking to Amazon.com
How do you calibrate without hardware?
Without hardware-based calibration, we will use a mixture of an operating system based calibration and a correction layer within your editing software. This article will mainly focus on Adobe Premiere Pro, but can apply to other editing programs.
We will use DisplayCAL to create an ICC profile. An ICC profile is what your windows and Mac OS operating systems use to adjust color and brightness on your display. We will also use DisplayCAL to generate a LUT that will be layered on top of your edit timeline as an adjustment layer. Both steps are required because Adobe Premiere Pro ignores the ICC profile. Premiere Pro is purposefully built to be very simplistic with color management because it assumes you are using an external hardware-based (LUT-box) calibration workflow.

Software-based calibration workflow
DisplayCAL Process
When you load the DisplayCAL software, make sure you select the correct monitor, your measurement instrument, but also a correction profile. The correction profiles are very important if you only purchased a colorimeter (cheaper option) and not a spectrophotometer. The correction profiles are created by members of the public using data from their spectrophotometer with your monitor combination to help increase your colorimeter’s accuracy. Essentially it's a correction profile for your colorimeter.

Set Calibration Settings
If you are editing for web delivery, I recommend calibrating to sRGB. sRGB is the color gamut that almost all viewers will see. If you want to be more traditional, Rec709 is a better option for broadcast tv. The color temperature should be 6,500 kelvin, white level 100–120 cd/m2, and tone cure sRGB.

After setting the calibration settings, you can hit “Calibrate & Profile”. It’s not necessary to change the profiling chart settings, but I would make sure the profile quality is set to high.
Calibration Completion & 3D Lut
The software will start to take measurements with your device. It can take 45min or longer for a high-quality measurement. Once complete, you will have the option to load the ICC profile into your OS. Proceed with this step.
At this stage, your operating system has the ICC profile loaded, but you don’t have a LUT generated for use within Premiere Pro. Re-open DisplayCAL if it closed and click the “3D LUT” tab. On this screen, you will have the option to generate a 3D LUT based on the calibration you just conducted. Save the LUT to your desktop or an easy to find folder.
Applying a Monitor Calibration LUT in Premiere Pro
If you are not familiar with adjustment layers in Premiere Pro I would first recommend watching one of these videos here.
Create an adjustment layer that sits on top of your entire timeline. Nothing should be placed above this adjustment layer.
Within the Lumetri panel, load the 3D LUT you just saved into the Input LUT dropdown. Browse to locate your LUT.
Done. Your timeline is now color corrected for your monitor to match the sRGB colorspace.
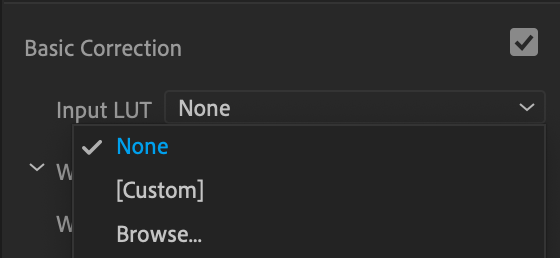
Lumetri Panel — Input LUT dropdown
IMPORTANT NOTE: When exporting/rendering edits, make sure your adjustment layer with the 3D LUT is turned OFF. You can do this by clicking the eye on that layer to hide it. The 3D LUT is only for correcting your monitor. If left applied, the video will have incorrect colors on every other monitor the rendered video is played on.
Summary & Notes
This method is a good cheap alternative to buying expensive hardware, but it does have its pitfalls. You need to make sure you apply this adjustment layer to all your projects and that it is turned off during export. Rendered videos that you watch on your web browser will still look different than what you saw in Premiere Pro. This would also happen with a hardware-based approach because web browsers are not color-managed so please keep that in mind. Color management is a frustrating topic for many because what you see on your display almost always looks different on another. The best you can do is control the environment you edit in.
Author Biography: Phil Skulte is the owner of Visual Captive, a Minneapolis-based video production company. He specializes in commercial video work and enjoys sharing his knowledge with aspiring creators and business owners.
Learn more about Visual Captive here: www.visualcaptive.com